

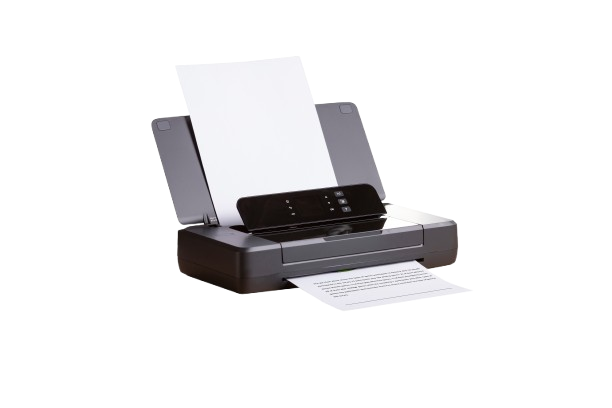
Save time and effort by setting up your HP printer quickly. Follow simple steps for installation, Wi-Fi connection, and driver updates to start printing smoothly.
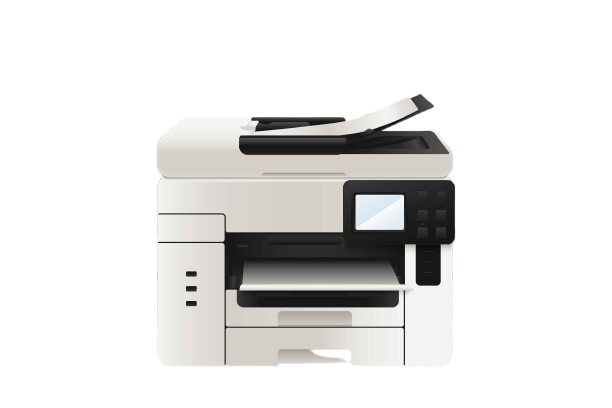
Update your HP printer, use original ink, clean it frequently, and look for paper jams to guarantee peak performance. Its longevity is increased with proper care.
Get customized solutions for your HP printer setup. Our experts provide step-by-step guidance tailored to your needs, ensuring smooth installation and troubleshooting.
Carefully unbox your HP printer and remove all packaging materials. Check for included accessories like power cables, ink cartridges, and manuals. Place the printer on a flat surface before setup.
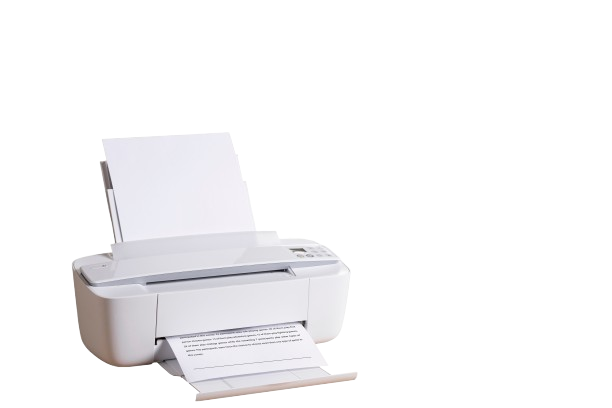
To load paper, open the paper tray, adjust the guides, and place the paper neatly. Make sure it's aligned properly to avoid jams. Close the tray and start printing.
Choose "Align Cartridges" from the printer's settings to align the ink cartridges. Print an alignment page and adhere to the on-screen directions for higher-quality printing.
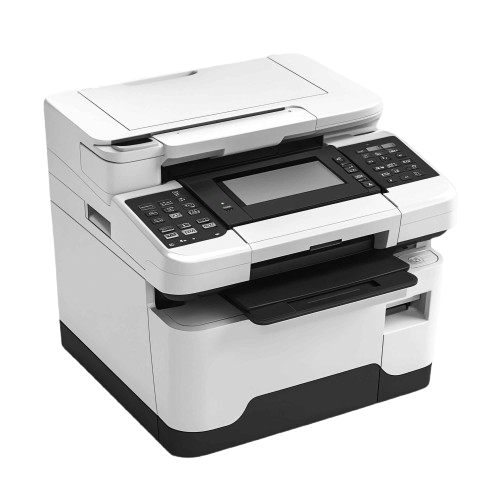
Go to HP's official website, type in the model number of your printer, download the drivers, and then follow the on-screen directions to install the printer software and drivers. To ensure a seamless setup, restart your computer.
Press the power button and plug the printer into a power outlet to turn it on. Await the printer's startup, then look for any configuration instructions on the screen.
Insert the ink cartridges into their slots, push them in until they click, and then open the printer cover to install the cartridges. After closing the lid, adhere to the setup directions displayed on the screen.
To establish a Wi-Fi connection with your HP printer, navigate to the printer's settings, Select Wi-Fi configuration, pick your network, and input the password. Verify that your PC is connected to the same network.
To print a test page, navigate to your computer's control panel or printer settings. To verify the alignment and quality of the ink, select "Print Test Page". If necessary, fix problems.
Unbox the printer, plug it in, install ink cartridges, load paper, and download drivers from HP’s website. Follow the setup instructions on your screen.
On your printer, go to settings, select Wi-Fi setup, choose your network, and enter the password. Ensure your computer is on the same network.
Check if the printer is powered on, connected to the correct network, and has updated drivers. Restart both the printer and computer if needed.
Go to your printer settings on the control panel or computer, find the "Print Test Page" option, and follow the instructions to check print quality.